Original article published in July 1986. The text below is a cleaned transcription for web reading; the original scans remain the definitive reference for the BASIC listing and exact typesetting.
Introduction
Have you ever wondered if you can afford additional monthly expenses—like a mortgage or additional credit cards? Or how much “discretionary income” (money left after paying bills) you might have around Christmastime? I used to manage all the details in my head, but usually had little or no idea as to how much money there actually was (or where it all went).
“Budget Planner” is a mini-spreadsheet written in BASIC. It’s designed specifically to handle weekly and monthly income/expenses for an entire year. Budget Planner will sum a column (a week of income and expenses) and present a total. The total is then carried over into the next week as a previous balance.
Typing It In
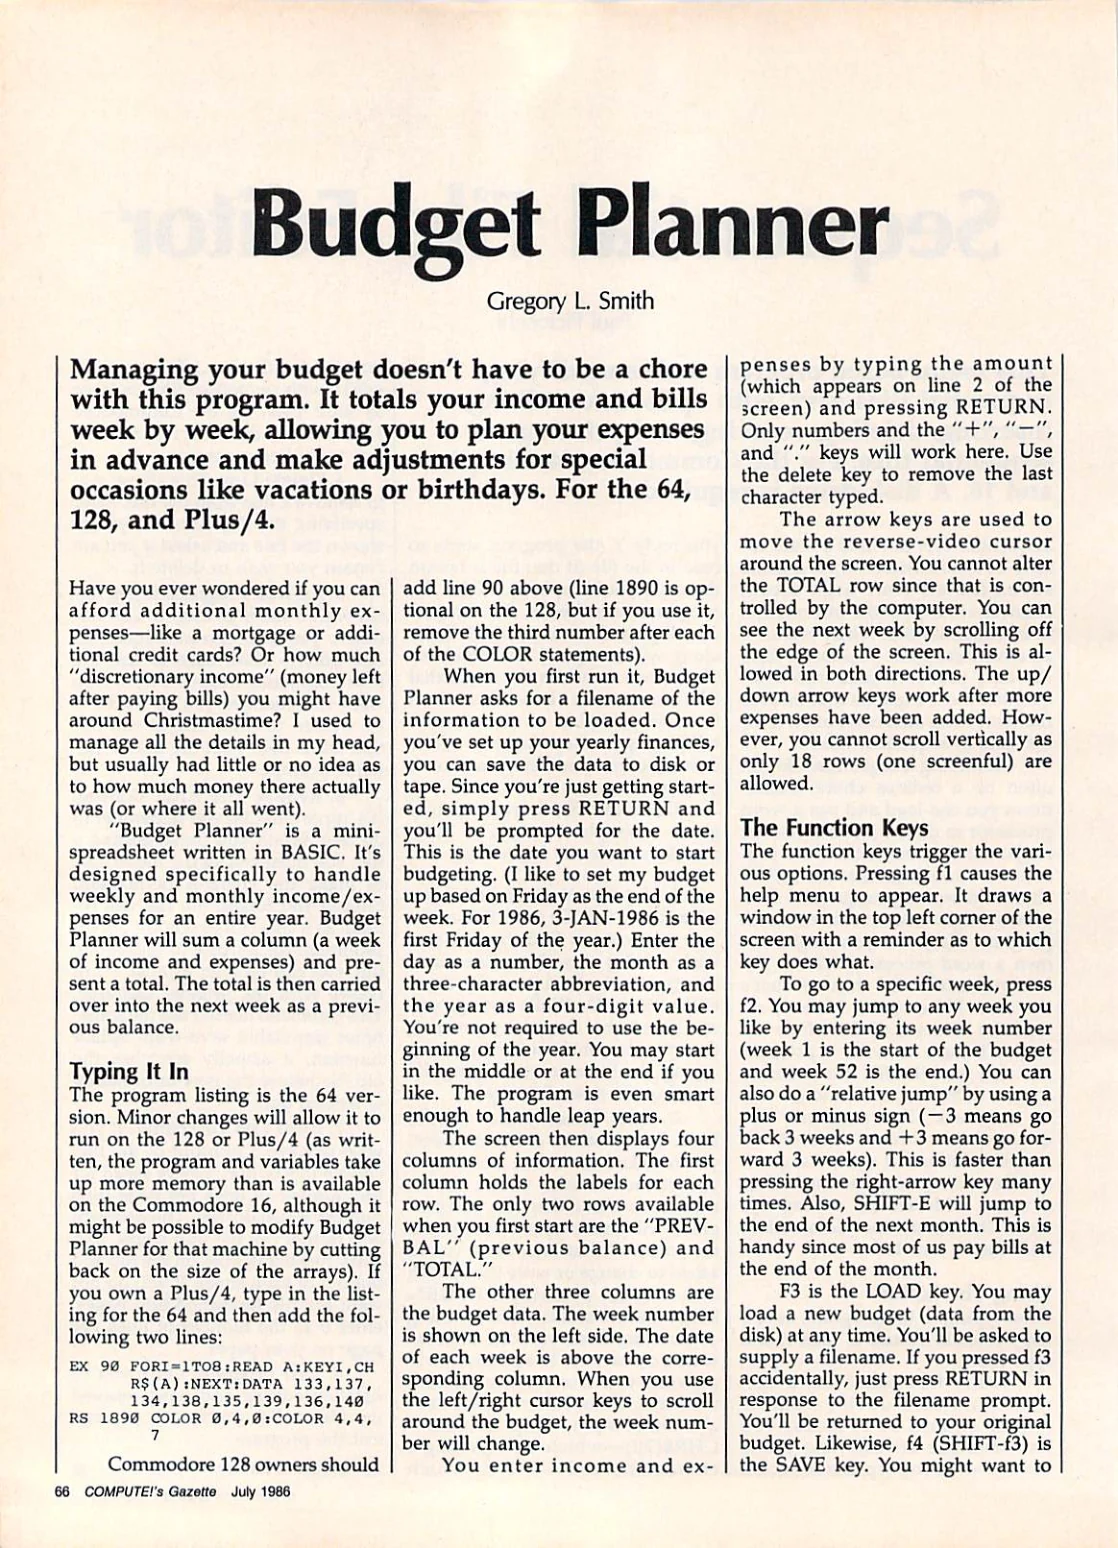
The program listing is the 64 version. Minor changes will allow it to run on the 128 or Plus/4 (as written, the program and variables take up more memory than is available on the Commodore 16, although it might be possible to modify Budget Planner for that machine by cutting back on the size of the arrays). If you own a Plus/4, type in the listing for the 64 and then add the following two lines:
The original article prints two short compatibility modifications for the Plus/4 and Commodore 128. See the scanned article page for the exact BASIC lines.
Commodore 128 owners should add line 90 above (line 1890 is optional on the 128, but if you use it, remove the third number after each of the COLOR statements).
When you first run it, Budget Planner asks for a filename of the information to be loaded. Once you’ve set up your yearly finances, you can save the data to disk or tape. Since you’re just getting started, simply press RETURN and you’ll be prompted for the date. This is the date you want to start budgeting. (I like to set my budget up based on Friday as the end of the week. For 1986, 3-JAN-1986 is the first Friday of the year.) Enter the day as a number, the month as a three-character abbreviation, and the year as a four-digit value.
You’re not required to use the beginning of the year. You may start in the middle or at the end if you like. The program is even smart enough to handle leap years.
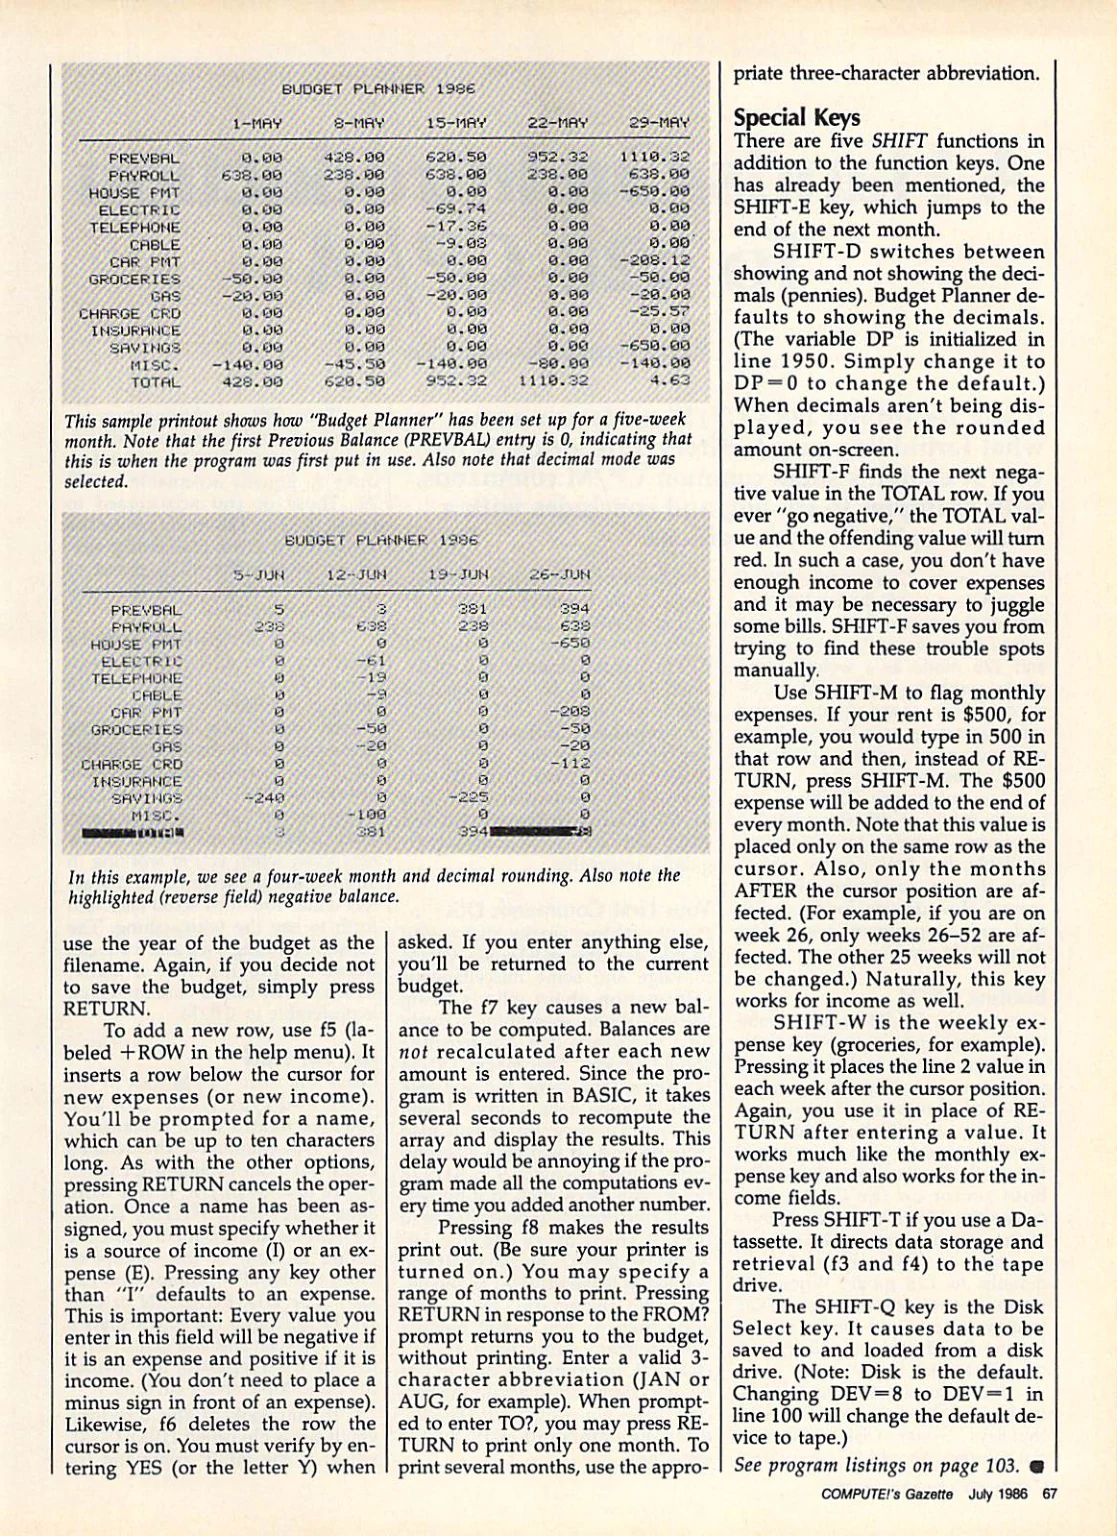
The screen then displays four columns of information. The first column holds the labels for each row. The only two rows available when you first start are the “PREVBAL” (previous balance) and “TOTAL.”
The other three columns are the budget data. The week number is shown on the left side. The date of each week is above the corresponding column. When you use the left/right cursor keys to scroll around the budget, the week number will change.
You enter income and expenses by typing the amount (which appears on line 2 of the screen) and pressing RETURN. Only numbers and the “+”, “−”, and “.” keys will work here. Use the delete key to remove the last character typed.
The arrow keys are used to move the reverse-video cursor around the screen. You cannot alter the TOTAL row since that is controlled by the computer. You can see the next week by scrolling off the edge of the screen. This is allowed in both directions. The up/down arrow keys work after more expenses have been added. However, you cannot scroll vertically as only 18 rows (one screenful) are allowed.
The Function Keys
The function keys trigger the various options. Pressing f1 causes the help menu to appear. It draws a window in the top left corner of the screen with a reminder as to which key does what.
To go to a specific week, press f2. You may jump to any week you like by entering its week number (week 1 is the start of the budget and week 52 is the end). You can also do a “relative jump” by using a plus or minus sign (−3 means go back 3 weeks and +3 means go forward 3 weeks). This is faster than pressing the right-arrow key many times. Also, SHIFT-E will jump to the end of the next month. This is handy since most of us pay bills at the end of the month.
F3 is the LOAD key. You may load a new budget (data from the disk) at any time. You’ll be asked to supply a filename. If you pressed f3 accidentally, just press RETURN in response to the filename prompt. You’ll be returned to your original budget.
Likewise, f4 (SHIFT-f3) is the SAVE key. You might want to use the year of the budget as the filename. Again, if you decide not to save the budget, simply press RETURN.
To add a new row, use f5 (labeled +ROW in the help menu). It inserts a row below the cursor for new expenses (or new income). You’ll be prompted for a name, which can be up to ten characters long. As with the other options, pressing RETURN cancels the operation. Once a name has been assigned, you must specify whether it is a source of income (I) or an expense (E). Pressing any key other than “I” defaults to an expense. This is important: Every value you enter in this field will be negative if it is an expense and positive if it is income. (You don’t need to place a minus sign in front of an expense.)
Likewise, f6 deletes the row the cursor is on. You must verify by entering YES (or the letter Y) when asked. If you enter anything else, you’ll be returned to the current budget.
The f7 key causes a new balance to be computed. Balances are not recalculated after each new amount is entered. Since the program is written in BASIC, it takes several seconds to recompute the array and display the results. This delay would be annoying if the program made all the computations every time you added another number.
Pressing f8 makes the results print out. (Be sure your printer is turned on.) You may specify a range of months to print. Pressing RETURN in response to the FROM? prompt returns you to the budget, without printing. Enter a valid three-character abbreviation (JAN or AUG, for example). When prompted to enter TO?, you may press RETURN to print only one month. To print several months, use the appropriate three-character abbreviation.
Special Keys
There are five SHIFT functions in addition to the function keys. One has already been mentioned, the SHIFT-E key, which jumps to the end of the next month.
SHIFT-D switches between showing and not showing the decimals (pennies). Budget Planner defaults to showing the decimals. (The variable DP is initialized in line 1950. Simply change it to DP=0 to change the default.) When decimals aren’t being displayed, you see the rounded amount on-screen.
SHIFT-F finds the next negative value in the TOTAL row. If you ever “go negative,” the TOTAL value and the offending value will turn red. In such a case, you don’t have enough income to cover expenses and it may be necessary to juggle some bills. SHIFT-F saves you from trying to find these trouble spots manually.
Use SHIFT-M to flag monthly expenses. If your rent is $500, for example, you would type in 500 in that row and then, instead of RETURN, press SHIFT-M. The $500 expense will be added to the end of every month. Note that this value is placed only on the same row as the cursor. Also, only the months AFTER the cursor position are affected. (For example, if you are on week 26, only weeks 26–52 are affected. The other 25 weeks will not be changed.) Naturally, this key works for income as well.
SHIFT-W is the weekly expense key (groceries, for example). Pressing it places the line 2 value in each week after the cursor position. Again, you use it in place of RETURN after entering a value. It works much like the monthly expense key and also works for the income fields.
Press SHIFT-T if you use a Datassette. It directs data storage and retrieval (f3 and f4) to the tape drive.
The SHIFT-Q key is the Disk Select key. It causes data to be saved to and loaded from a disk drive. (Note: Disk is the default. Changing DEV=8 to DEV=1 in line 100 will change the default device to tape.)
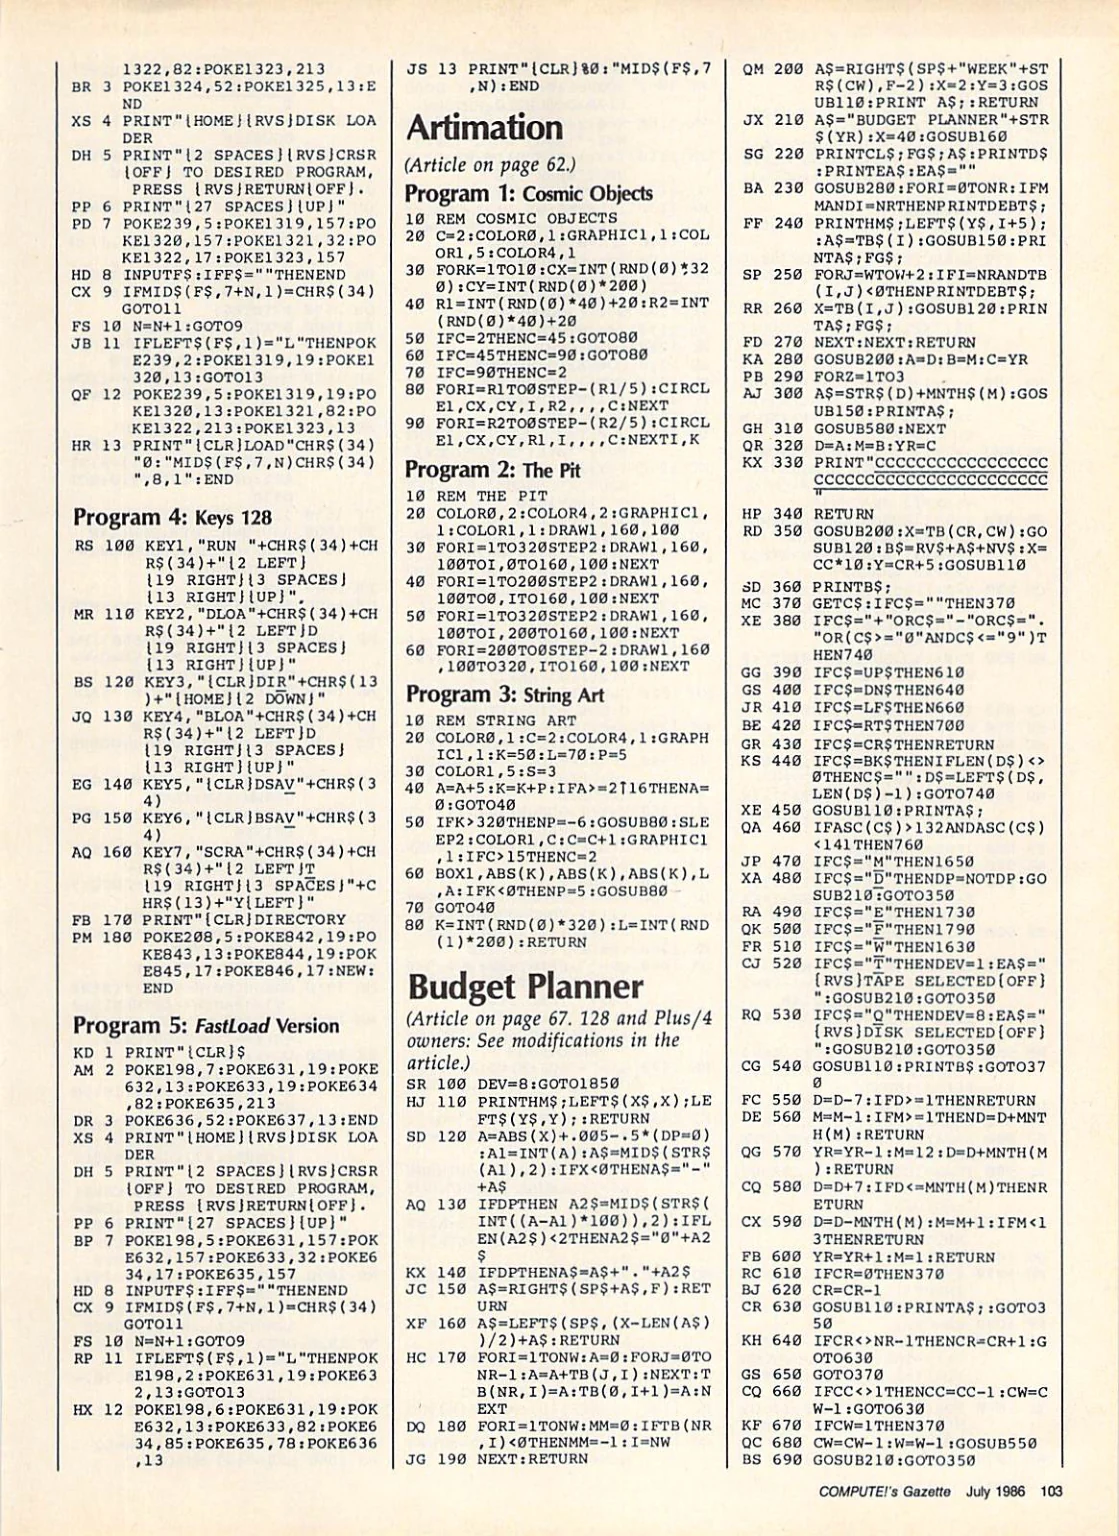
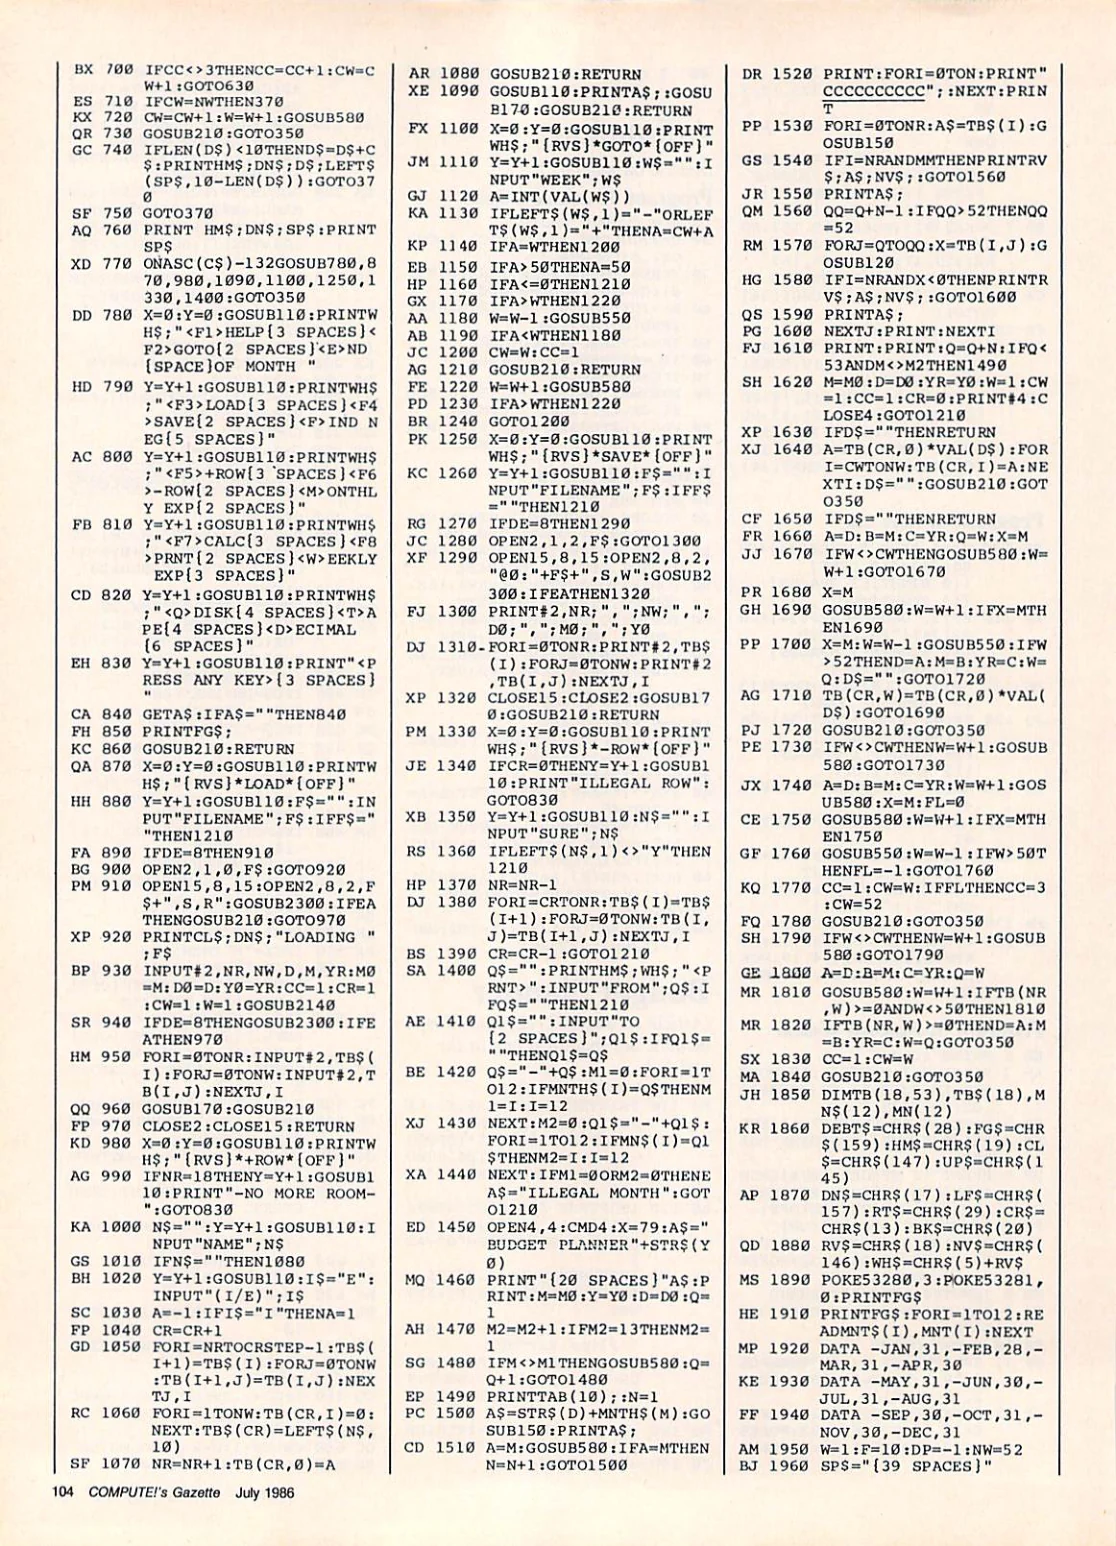
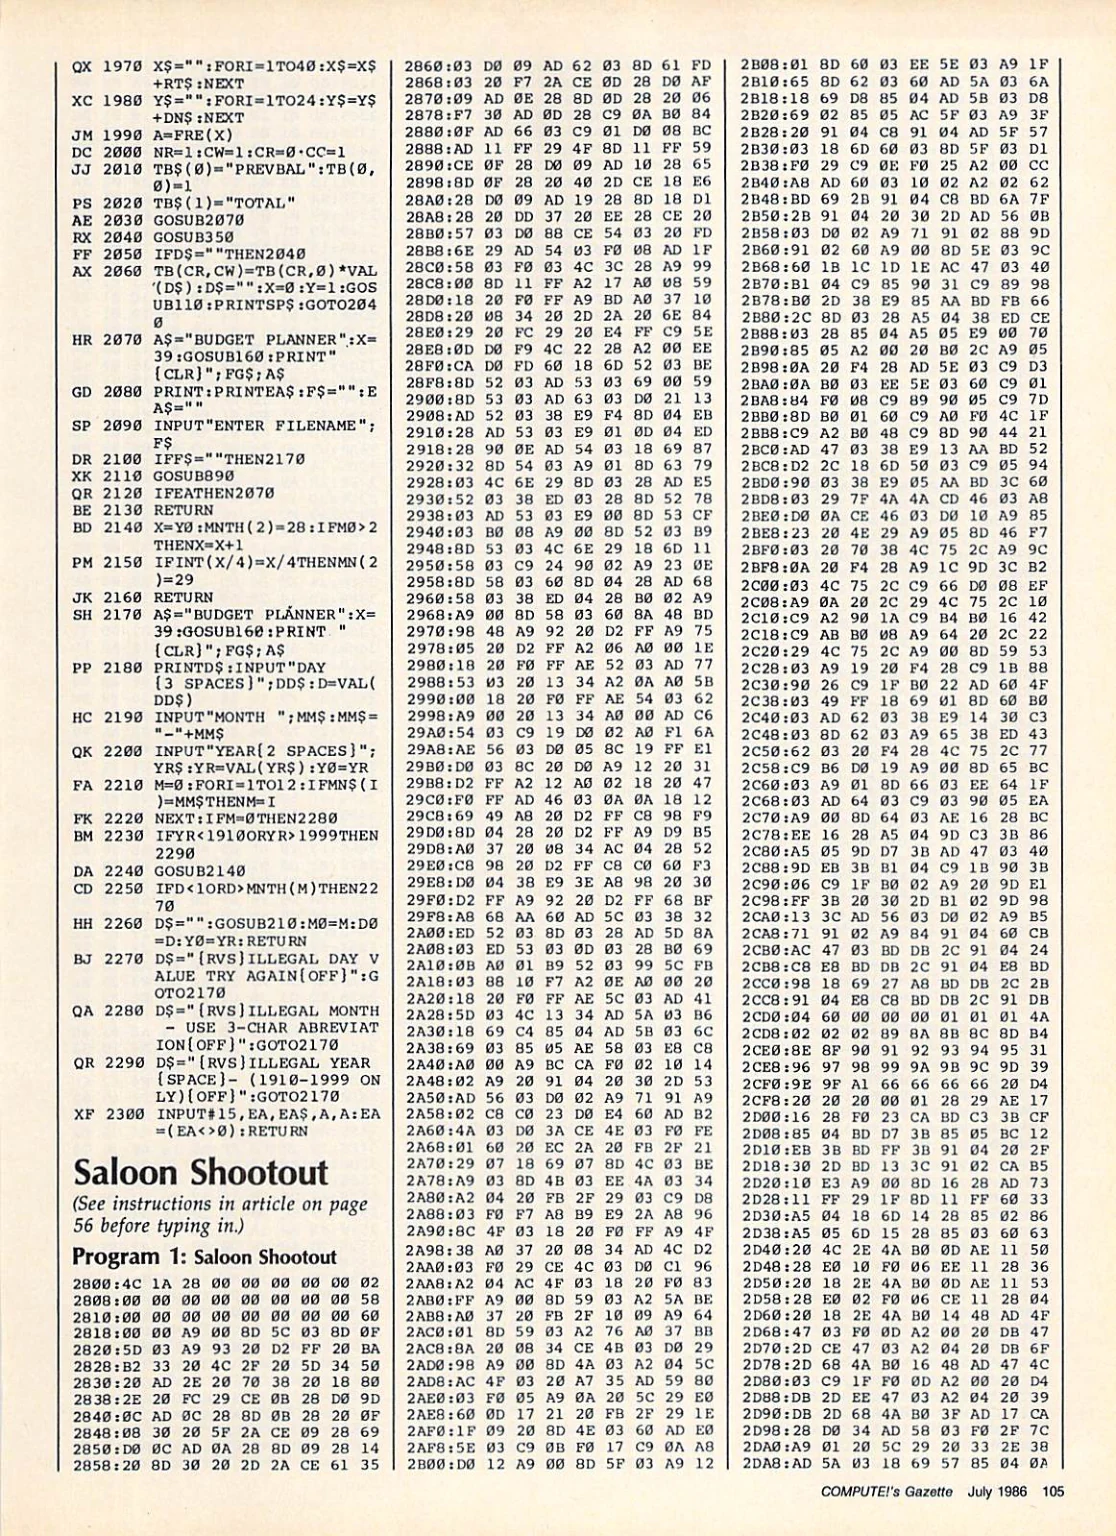
Program listing: The printed BASIC listing begins on published page 103 (PDF page 105) and continues on PDF pages 106 and 107. For accuracy, the original program is provided as high-resolution page scans below rather than as unverified machine-readable code.